Automation and Custom Blocks
Utilizing nTop’s automation capabilities can significantly lower the time to create your designs. If you are working with a design you plan to implement across multiple parts, it is very easy to automate and package that workflow across those designs. The key concepts to consider when automating your process are utilizing custom blocks, list processing, and nTop Automate. In this course, we will focus on creating custom blocks (CBs) and list processing to repeat workflows across multiple nTop files and to run through iterations.
The process for using a custom block is as follows:

A custom block is a whole notebook packaged into a single block for reuse in other notebooks. You can use it both for creating small, frequently used utilities and encapsulating entire workflows in a single block. This is one of the most powerful features of nTop because it enables you to package the work of a whole notebook to replay the entire step-by-step process recorded in that notebook quickly. You can then save the new custom block and reuse it in other files or share it with other nTop users.
Custom blocks are easy to make since they are defined similarly to a notebook and use the same file format (*.ntop). You set up a notebook however you like, with whatever inputs you want (the notebook inputs will convert to block inputs when you load the file as a block). An output is required for the notebook to register as a custom block. If there is no output, an alert will appear when you try to load it.
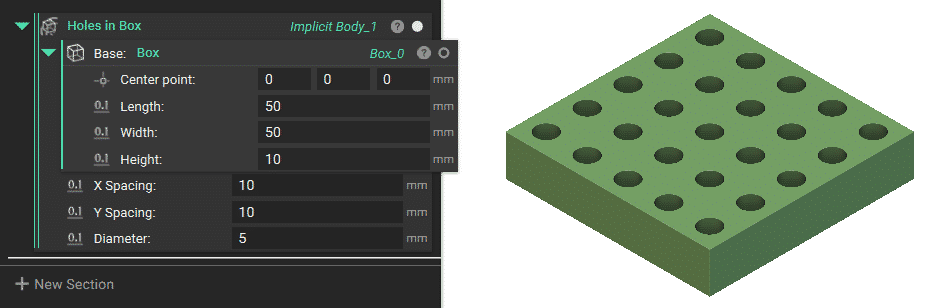
Custom block example
Custom blocks have a double line on their left side to indicate that they are CBs. If you are working with a file with a block with this double line, you can open the block by right-clicking and then selecting the Open Block to view the packaged nTop workflow. Then, you can modify the block or further understand how the process works.
Reasons for Using a Custom Block
- Readability: easier for a user to digest.
- Repeatability: if you use the same process multiple times, you can use a CB instead of repeating those steps.
- Controlling the areas a user can change: If you share a workflow, you may only want a colleague to change a few parameters. Using a CB will yield a gated view of a workflow.
Overloading
You can set up a custom block with one or multiple overloads, which will let you switch between different forms of the block. You can do this by ensuring all relevant CBs have the same notebook name before importing them.

Notice in this example, how the CB’s name is the same, but one option uses a mesh face to place supports, while the other uses a CAD face to place supports.

In the upcoming lessons, we will explain how you can create your own CB.