Follow Along: Adding an Image
Transcript
In this lesson, we will add textures and logos using bitmap, and basically using a PNG image to create that texture. So, in our starter file, we have our box and then this trimming box, which is where we will add our texture. So, our texture will be right in that region.
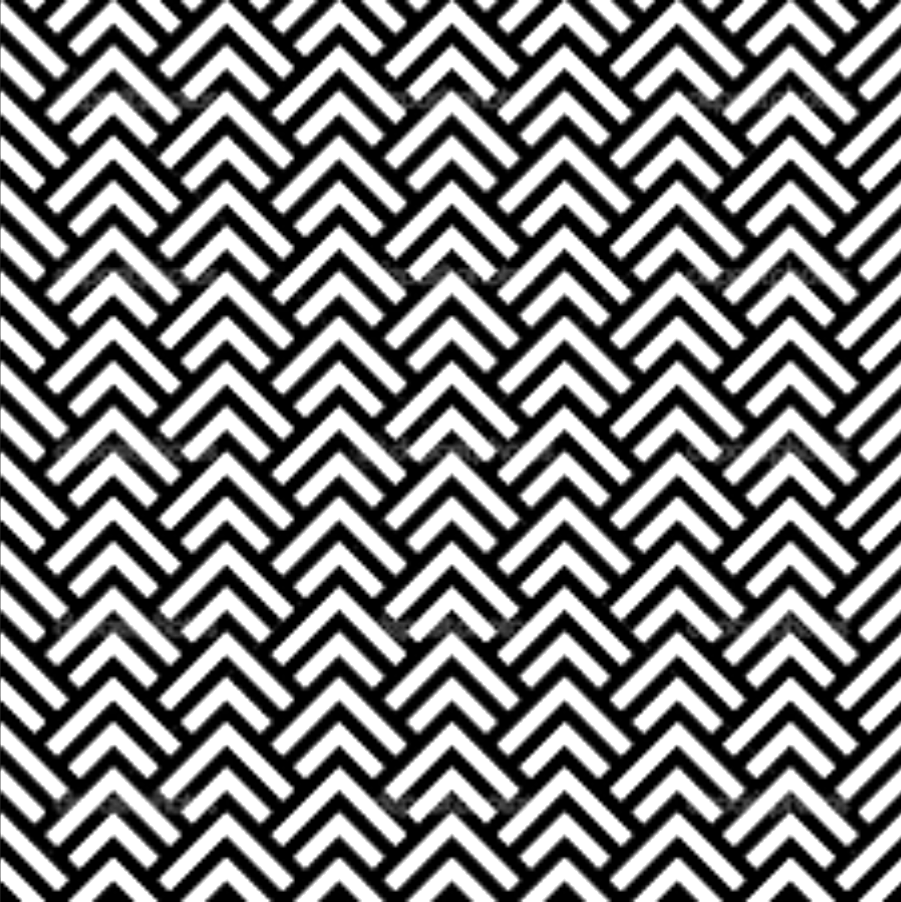
Let’s go to our adding bitmap section. The first thing I’ll do is just import this so we can do our beta tab for our bitmap. So, you can see in Utilities Exchange or you can search for this. And if you don’t see this, you don’t see the beta tab, you can always go to File Settings and just make sure you have your Show Beta Blocks turned on. For the path, you can download the image that we’ll use in this example, or you can upload your own PNG. I’m going to use that pattern three.
For a dot pitch, sometimes you’ll need this dot pitch. I’ll just put in 1 mm for this. Other times, you can just leave it optional. And I’ll right-click, make this a variable, and label this image. So we don’t see anything yet. But if we use our Map Bitmap to Plane block, so type that in, Map Bitmap to Plane, what I can see is I’ll bring in my image, that bitmap. I have a plane that I’m going to see this on, and I’ll just choose a plane. And if I scroll out, we can already see it. It’s put this in, and I haven’t defined the length and width, and that’s why it’s so large. So I’m going to change the length to 12 mm and the width to 15 mm.
So if I zoom in by typing Z, we can see now what this shape looks like. We can also change our interpolation from L to cubic. It doesn’t really change too much that we can see. And I’ll right-click, make this a variable, and label this planar image. So we have this image, and if we look in our Block Details under properties, we can see that I have these different fields associated with it. So I can offset A and B, similar to what we’ve been doing with the adding roughness and the procedural texturing using the grayscale image, alpha, blue, green, hue, red – all these different options we have available. So I’m going to use our grayscale. I’ll just drag and move that to its own separate line and double-click on the name to rename this as Grayscale Values.
The next thing I’ll do is add this to our design. So I have my box, I have my trimming box, and just as we had done in the previous follow-alongs, I will use our Offset Body block to offset our box. We’ll use our regular box, not our trimming box. And for our distance, I’m going to use a ramp again. So as I’ve said in previous follow-alongs, if you’re unfamiliar with ramps or fields, I definitely recommend going to our Intro to Field Driven Design course and checking those out. Our scalar field that we’ll be using is this grayscale volume. So I’ll turn off that planar image and let’s see the grayscale values as a field. So I’ll type F, and anywhere that we had that design, we can see we have a field that matches that, and then past it, it just has those values remain the same.
So for our in min, if I also probe my values, we can see that these values are between zero and one. My grayscale value is my scalar field. In min will be zero, in max will be one. And how much I want to have this texture come out will be where we have those values of zero. So anywhere that light blue is, we will have an out of 0 mm, and our out max will be 2 mm. We’ll only see that texture in those areas that are black in this field showing. And I’ll make this geometric, so we can see I am seeing that design now as a field, and it has this offset 2 mm above, below, and all around. So that’s why we needed that trimming box, and I have that trimming box shown. So we’ll actually only keep anything that’s within there. So you can play around with how much of that out min, out max you actually want. But I’ll make this a variable, label this 3D texture.
And now what I’ll do is just a Boolean intersect between this 3D texture and our trimming box. So of our 3D texture, our trimming box, and turn off that 3D texture and the trimming box, and now we are going to get something like this. So in some areas, we see that kind of roughness in certain areas, and part of that is because if we look at our bounding box, we have this trimming box that’s going inside of that box, too. So where we are offsetting our box, it’s sometimes going to be a little… it’s going to have some areas shown like so, especially depending on what image you do. So you can also play around with different images and see what this looks like as well. You can use a Smoothing Body block as well to smooth this design. I chose to use this Smoothing Body block, and I’ll make that grid size pretty small since it’s a relatively small design. You can see we’re going to have that smoothness everywhere, but it will also kind of help with any areas of that roughness that you still see. So you can play around with different inputs to get a better design that you might want. I’ll just keep with this Boolean intersect for now.
And the last thing that I’ll do is a Boolean Union of this texture with our box. Another way to help remove that excess besides that Smoothing Body block is you could also play around with this blend radius. So I’m going to actually change this to chamfered and give this a blend radius of 1 mm. And what we can see any of that area is now gone. So we have that little chamfer that will remove any of that excess. So sometimes just playing around with that blend type, that blend radius can also help with this as well.
So now that this is exactly as I want, I’m going to do a Boolean Union of our texture and our box. So now I get something like this where I have my completed texture here. I’ll right-click, make this a variable, and label this trim texture. So you can play around with these different designs, put in something else that you want. You may also want to have a texture that comes from your logo. You want to have that image on your part. So I actually have a custom block in here, this Implicit Body from Logo block, that will show how to do something like that as well. You can also download our Implicit Body from Logo custom block below this video. But in this last section, I have my Implicit Body from Logo block, and if you’re unfamiliar with importing custom blocks, I recommend checking out our Intro to Automation course. But this has just our path for the location we want it, it has the color field we want to choose, so you may want to play around with different color fields, and then the length, width, and depth that we want this design to be.
So, this is doing a very similar process we had just gone through. Now it has made it a custom block to just import a logo, so we have our nTop logo for this. So, if I wanted to then place this onto my part, first I’ll make this a little bit smaller and I’ll just make this 2 mm length, 2 mm width, and a depth of 0.5 so it fits a bit nicer on our part.
Right now it’s right inside of our box, which will not work. So, one way we can move this logo is by just going to our custom box that I have also that you can download below this video or in our in automation course, which is our Move Object block. So, you can just put in this logo and move this to where you want it to go, and this uses our Orient Object block that we’ve talked about previously.
Another option that you can do is just use our Orient Object block. So, our object will be the logo, we’ll put in a Plane From Normal block, and I can move this around to where I want it to be. Or I can make sure that it is right on that face using different variables. So, another custom block I have down that you can download with this video is the Point From Bounding Box block, which is really helpful.
So, given this logo, I can say I want this at the midpoint in the X and the, or the midpoint in the Z, but the centroid in the X and the Y. So, if I use this, it will now place this right at the location I want to have for my source. If you want to see what this does in kind of a manual way, all we have to do is place in a point. Go into our block details for our logo and the bounding box, and we’ll just choose, if we click on that centroid, we’ll choose the centroid in the X and the Y, but then we’ll choose the endpoint in the Z. So, a lot of ways to do something at nTop, and why custom blocks can be useful, is that it just saves us a little bit of time.
So, this is our source plane and our destination plane. If we look at our trimmed texture, let’s add another Plane From Normal block. And if we go back to our box in our geometry tab, we have this going up a height of 2.5, so this is really going to be up 1.25, which is where we want it in the Z. So, I can also just drag and move this so that it roughly is where I want it to go. Maybe I want this to be, you know, at that corner, and then put in for the Z 1.25, and I’ll know that it’s right at that top of the surface.
And the last thing is just unioning this now to our final body. So, I’ll do a Boolean Union of this logo now oriented in the right spot, and I’m going to use our trimmed texture that we made in the previous section. And if I type “I”, we now have our final body that has our texture we created and uses that custom block as well.
In this lesson, we will walk through how to use bitmapping to add texture to a part. If you are unfamiliar with the Ramp block, please visit our Intro to Field Driven Design course before reviewing this lesson.
We will also use a custom block in this lesson to create an implicit body from a logo. To learn more about custom blocks, please visit our Intro to Automation course.
Please download the PNG and nTop files below to follow along with the tutorial.
Note: This lesson contains a Beta block, to ensure you can access it go to Settings → General → Check Show Beta Blocks.
Example File:
This file was last updated in nTop 5.13.2
This file was last updated in nTop 5.13.2
This file was last updated in nTop 5.13.2
This file was last updated in nTop 5.13.2