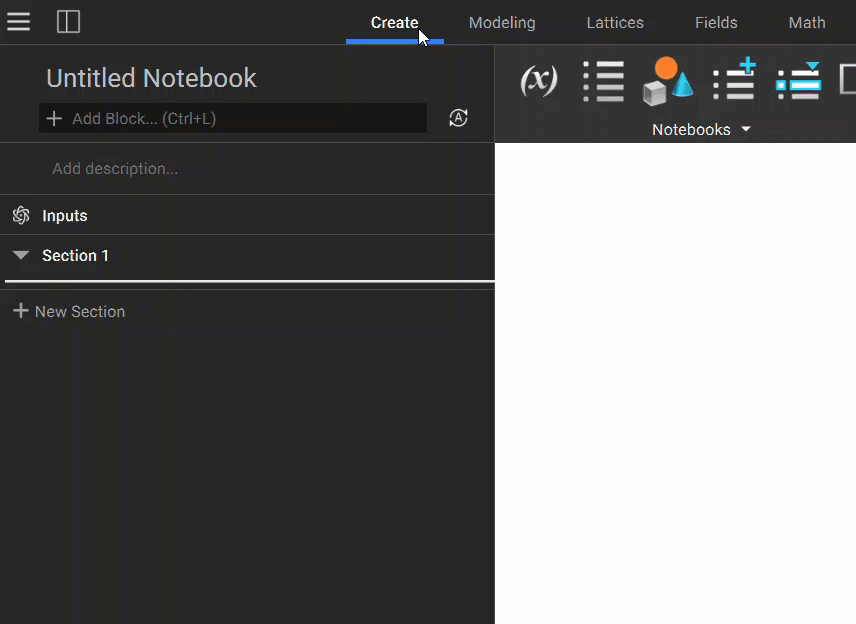
Notebook Management
In nTop, you add a series of different Blocks to the Notebook to create a workflow. Staying organized in the Notebook as you build your workflow will allow you to work more efficiently, especially after coming back to revisit the file after some time. Your Notebook serves as a documentation of your work. Keeping it organized and commented is helpful for future use and sharing it with others.
Adding and Deleting Blocks
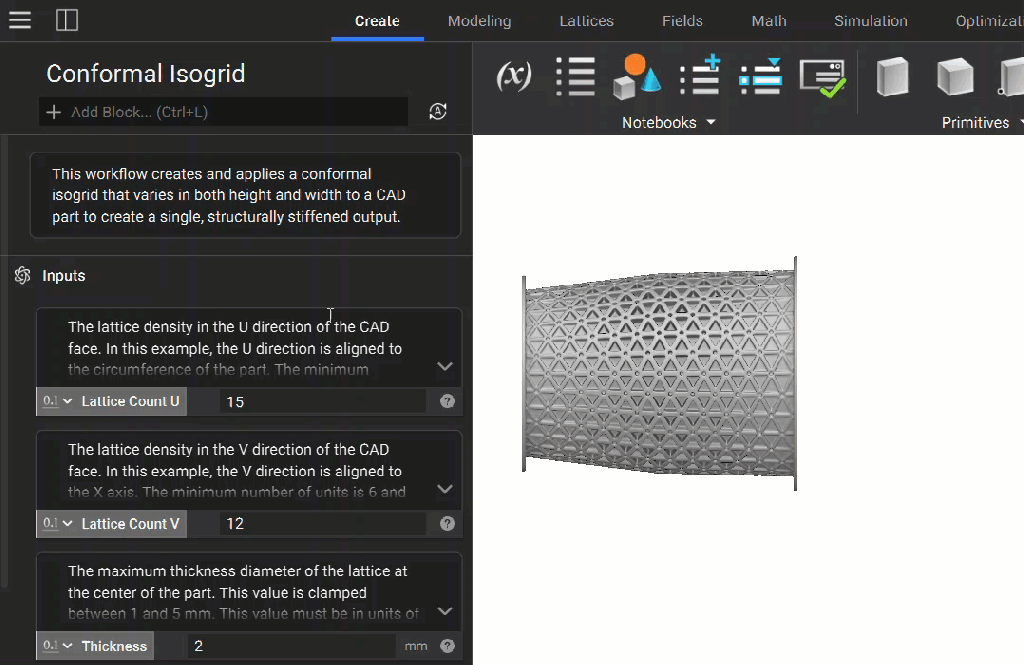
Most workflows in nTop will begin with importing a CAD or mesh object and converting it to an Implicit body, which are all done through adding specific blocks to the Notebook.
To perform operations in nTop, you can add Blocks to the Notebook via the Ribbon or the Search Bar:
Method 1:
Click on Block icons or select from the drop-down list in the Ribbon.
Show/hide the ribbon with Ctrl+D
Method 2:
Type the block name in the Search Bar.
Shortcut to go to Search Bar is Ctrl+L
Method 3:
Double-click where you want to add a block to the Notebook, and search/select which block you want to add.

To remove a block, select it then press the delete key or right-click and select delete from the menu:

To select multiple Blocks, hold Ctrl key.

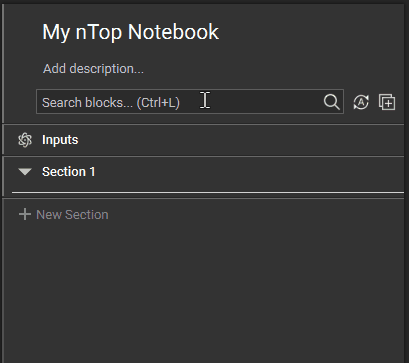
Notebook Name, Description, Sections, and Comments
A little housekeeping goes a long way when working in an nTop Notebook. If your engineering notebook is kept tidy, organized, and blocks are named well, it will be easy to navigate and reuse existing files. Giving your Notebook a proper name and description, as well as adding proper names to sections and adequate comments to blocks, will help to keep your Notebook files light and easy to read.
A little housekeeping goes a long way. Here are some best practices for creating and organizing a Notebook:
– Use clear and concise names, descriptions, and comments
– Use Sections to organize blocks based on their purpose
– Isolate inputs that the user might change frequently
Name and Description
It is good practice to give the Notebook a fitting name that matches the file name and to give a full description of what the workflow in the Notebook does.

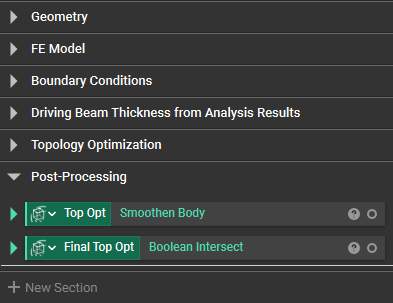
Sections
Make use of sections to organize the different portions of your workflow and name them appropriately. This way you can stay organized by keeping sections you are not working on collapsed and be able to quickly find the part of the workflow you want to change.
Inputs and Outputs
Above and below the sections of your Notebook you will find areas where you can define one or more inputs and a single output. Variables are dragged into these areas to call out what will be the inputs and output of a custom block.

Comments
Use comments to document the steps of your work, focusing on the purpose of the block. The comment can be made in the Notebook directly by hovering over the top left corner of a block and then clicking on the bubble symbol or through the Block Details panel of a block.
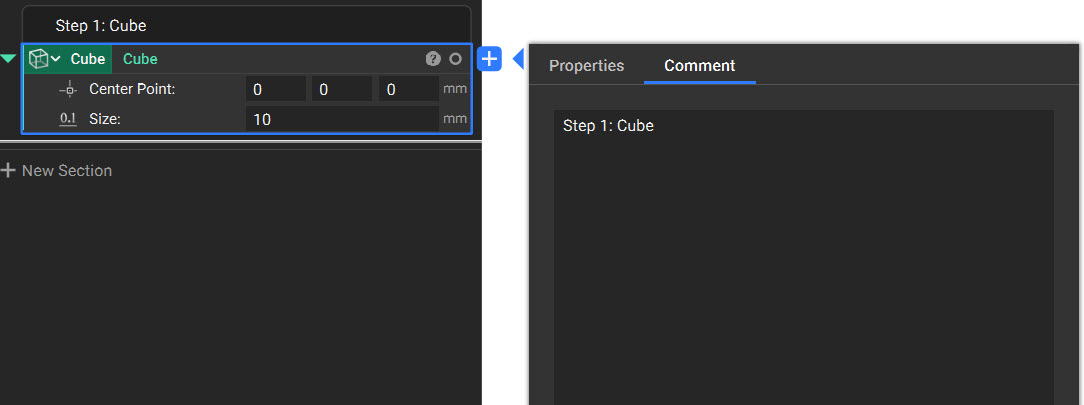
Note: The comment is attached to the block, so if the block is moved or deleted the comment will go with it.
Variables
You can make any block or parameter in the Notebook into a variable. By declaring a block a variable, all of its components can be changed quickly and parametrically. An entire Notebook of functions can automatically be computed and rebuilt by changing inputs in the variable. Variables allow for quick and easy organization and understanding of your Notebook since the variable blocks don’t get nested within another block.
A block variable looks different from a regular block. The block name moves to the left and sits on top of the block color. Below you can see a variable vs. a regular block.

Once a block is made into a variable, it remains in the Notebook. When the variable is used as an input for another block, the variable is represented by a chip.
Notebook Outline
Use the icon in the top left of the Notebook to expand and collapse the Notebook Outline. This Outline lets you view the Blocks in your Notebook from a high level and quickly select and navigate them.
In addition to quickly navigating to blocks, the Outline visualizes where variables are used in your Notebook. When you select a block in the Outline, a bright blue highlight will appear around the block in the Notebook. If that block is a variable instanced within another block, a duller blue highlight will appear on the block that references it.